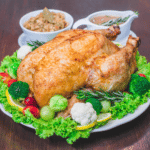
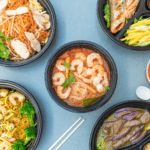
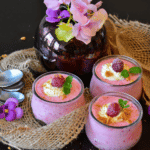
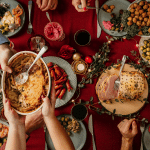
Have you ever looked at a picture of food on the internet and started salivating? Did it make you crave for the food enough to decide to cook it? Well, that is precisely what the objective of the photograph is! A good picture of the food can make all the difference in your recipe’s impression on the audience. It would help if you learned how to take aesthetically and gastronomically pleasing photos to add an element of glamour to your recipes.
Let There Be Light
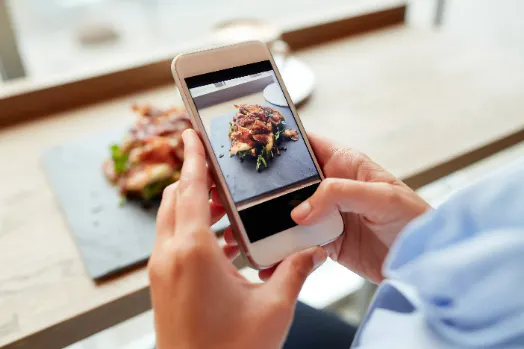
The best lighting for photography is always natural light, and a cloudy day is the best way to get uniform illumination for your food. If you don’t have an outdoor space to shoot, find a window that allows enough sunlight to capture the perfect shot. To avoid sharp shadows, make sure the food is below the light source and not directly under it. For the brightest and well-lit pictures, a whiteboard opposite the light will illuminate the shadows as well. One important tip is never to use flash to combat low lighting because the light is too harsh and will make your food look unattractive.
Get the Best Angle
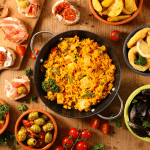
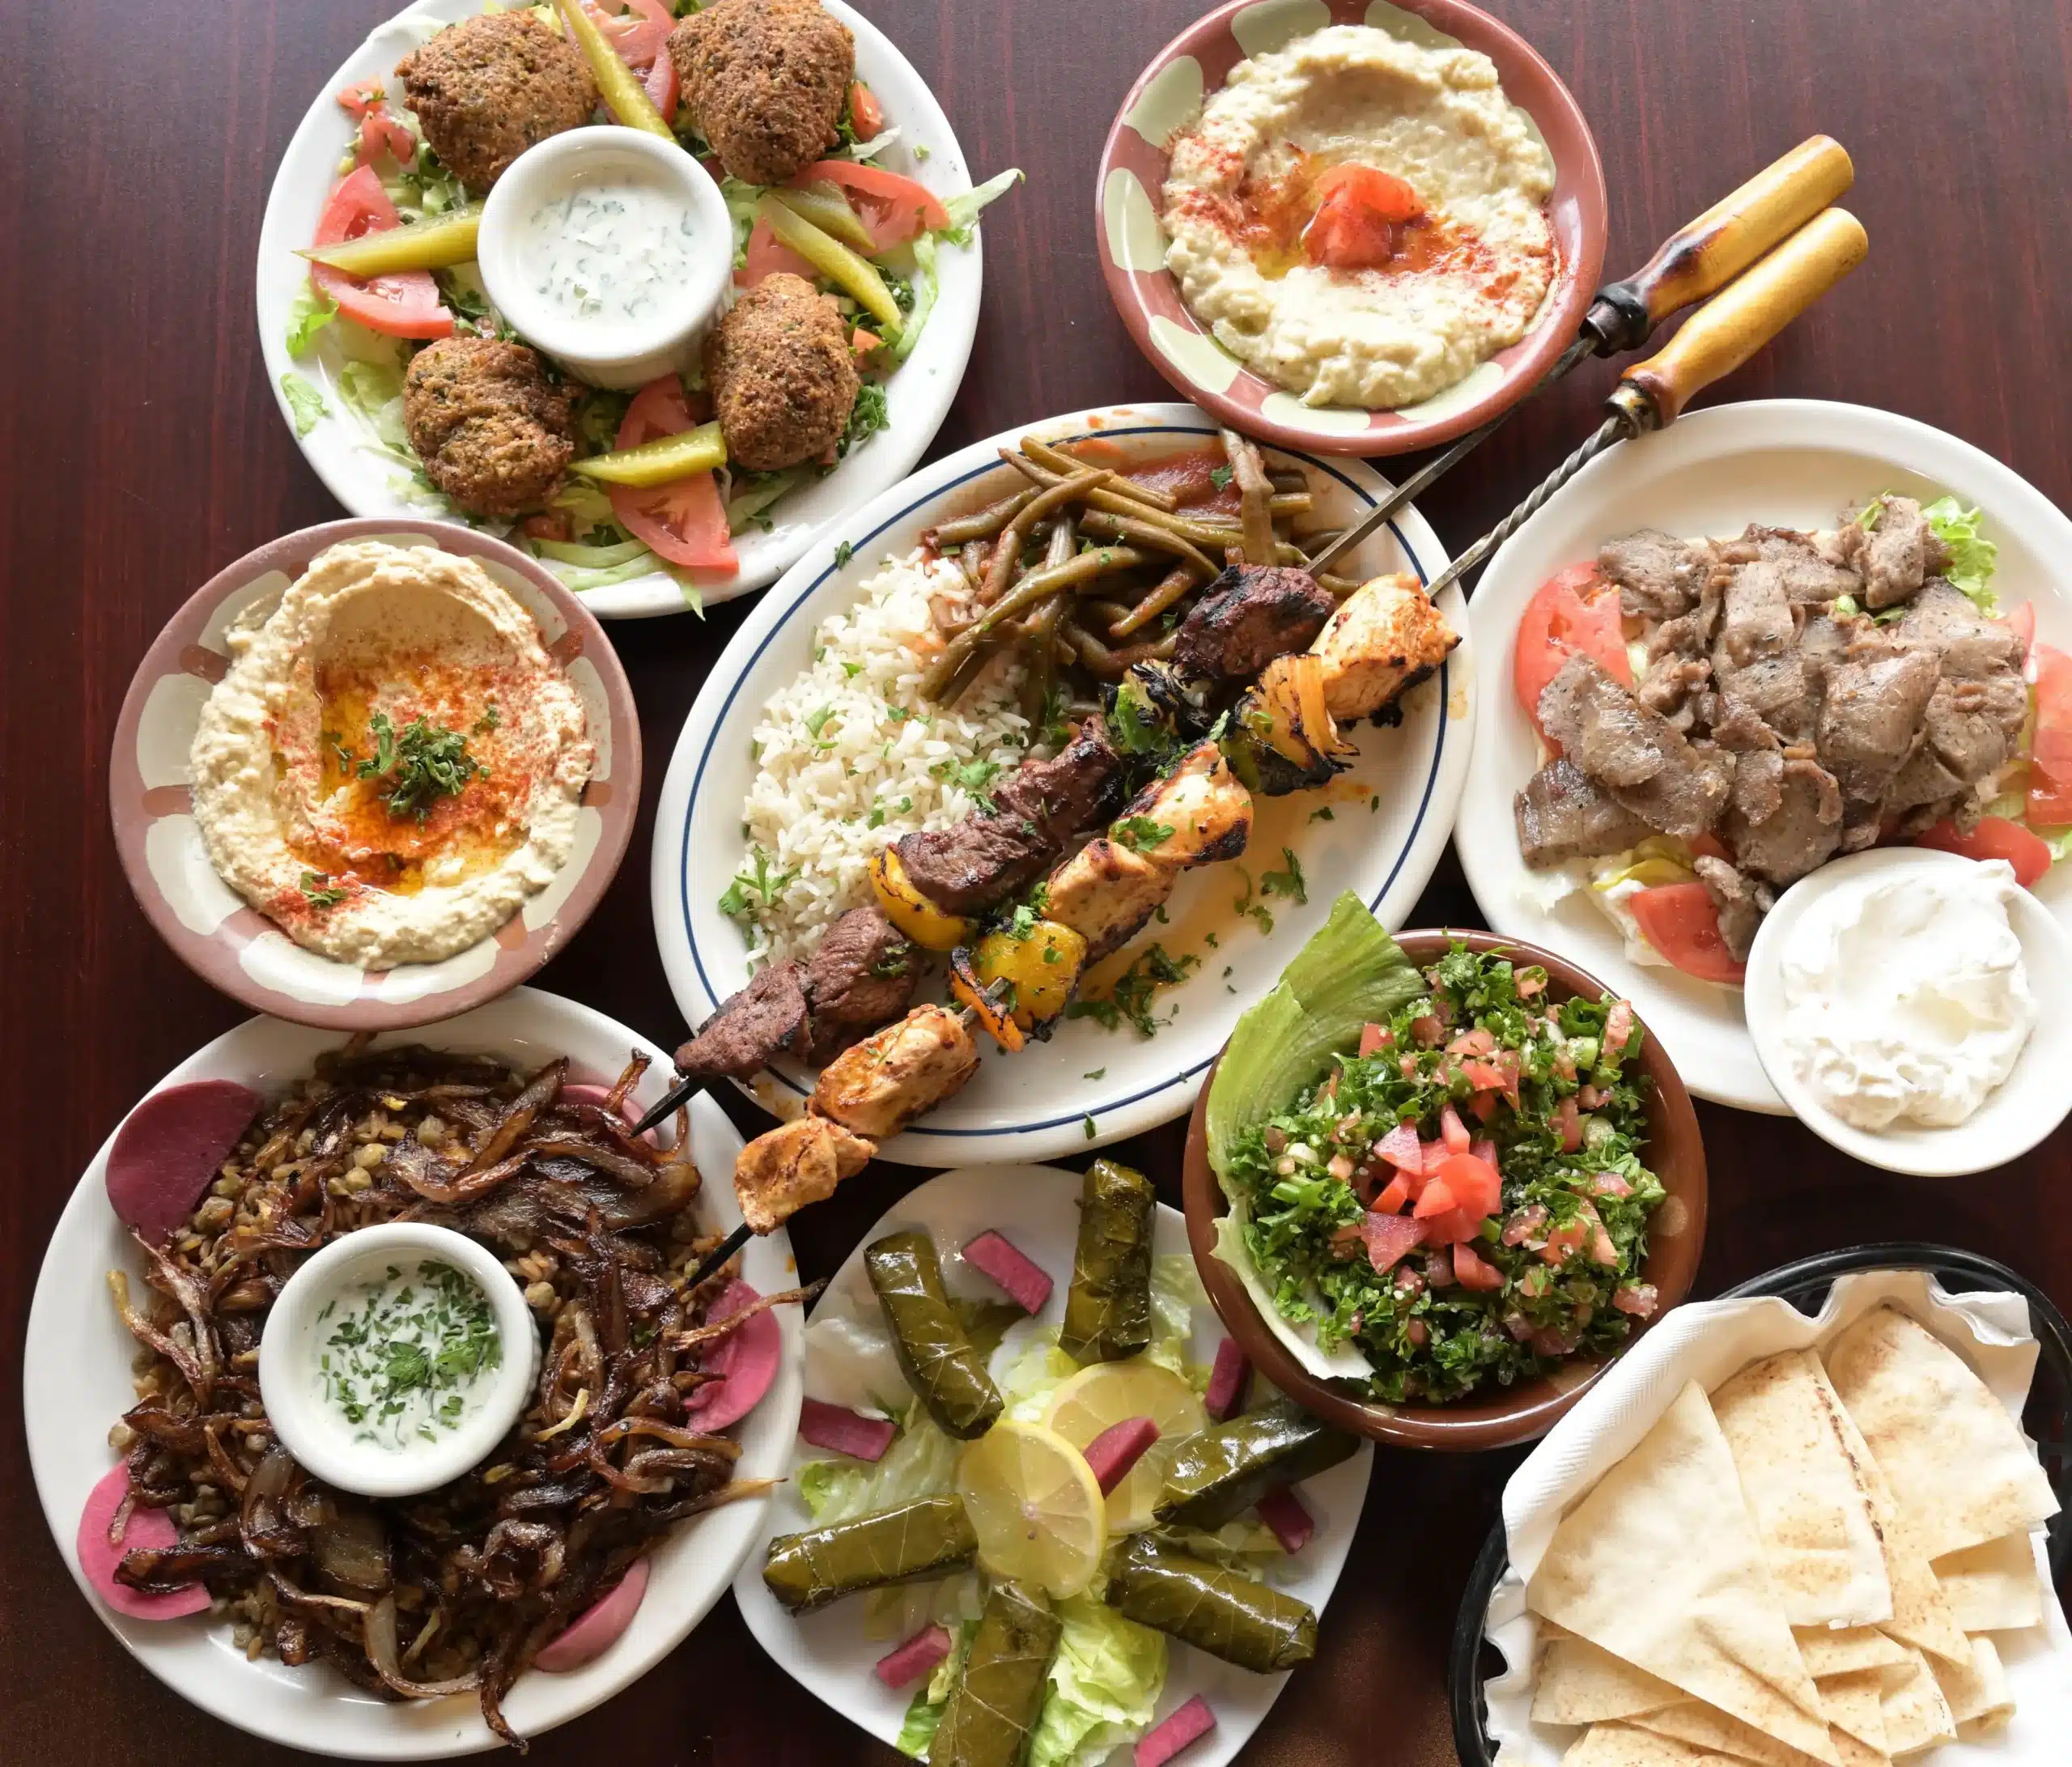
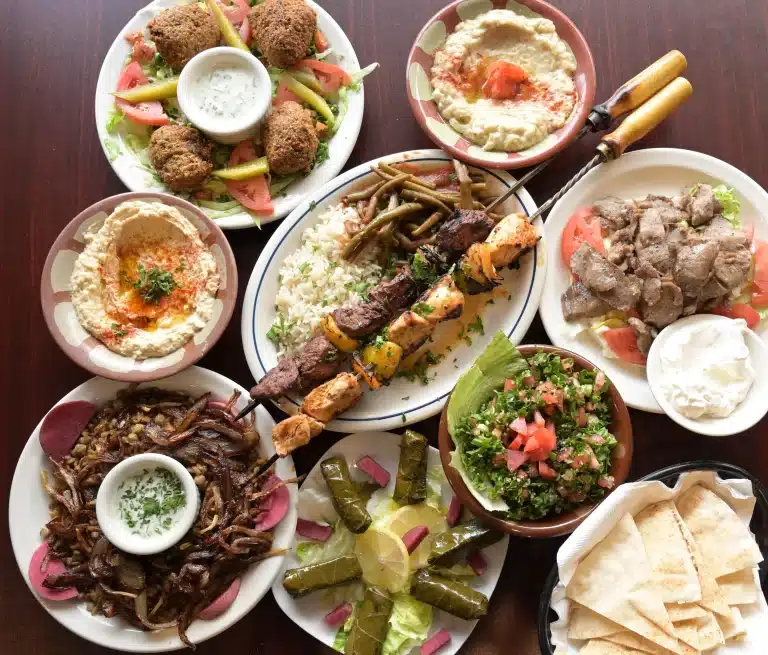
The best food photographers shoot from directly on top of the dish to get a top-down image of the plate and table spread. That is a high angle, and it does not work for all types of food. Layered dishes like cakes, burgers, and lasagnas require a more detailed look at everything inside. Take shots from different angles to find out what works best for you. Remember, you have to demonstrate what is best about this recipe and make that aspect the star of your picture.
Plating is Everything
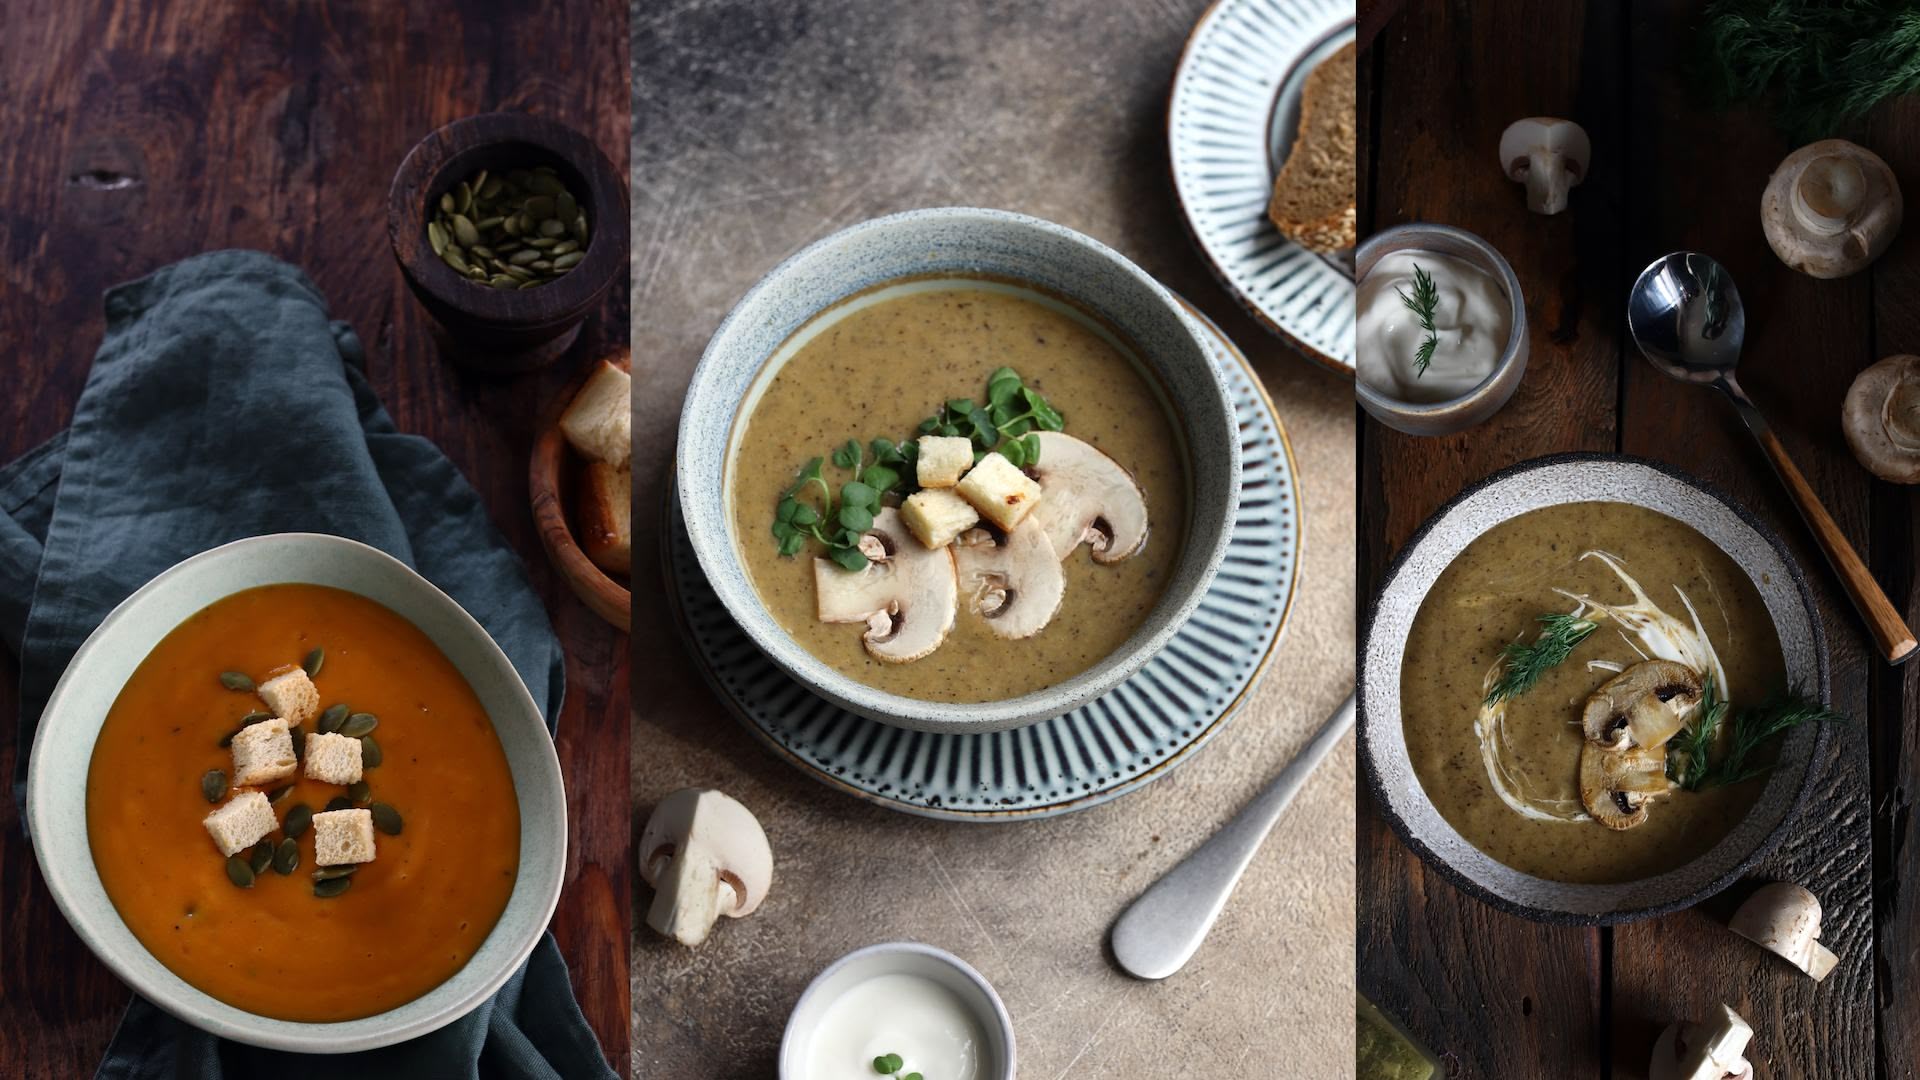
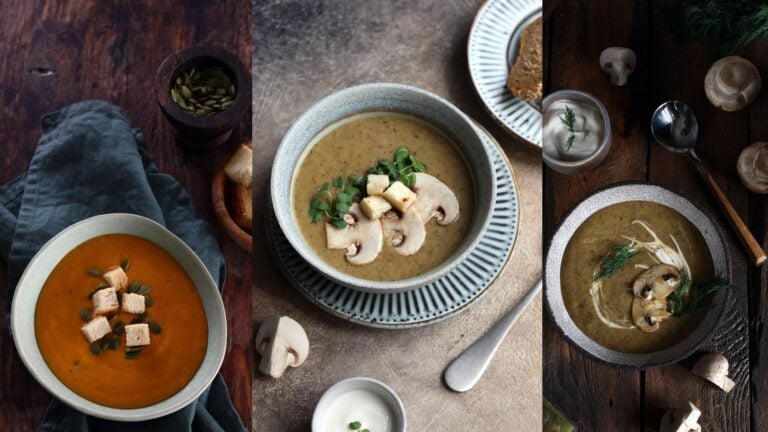
The presentation of the dish has as many points as the taste in all cooking competitions. Garnishing can elevate the aesthetics of your creation to the next level. Dishes that look bland need more color so they can pop on camera. Fresh green herbs, croutons, colorful fruit, or a dusting of cocoa powder can make your food look more appealing. Think color blocking and then use something to show the contrast in the dish and the garnish.
Set it Up
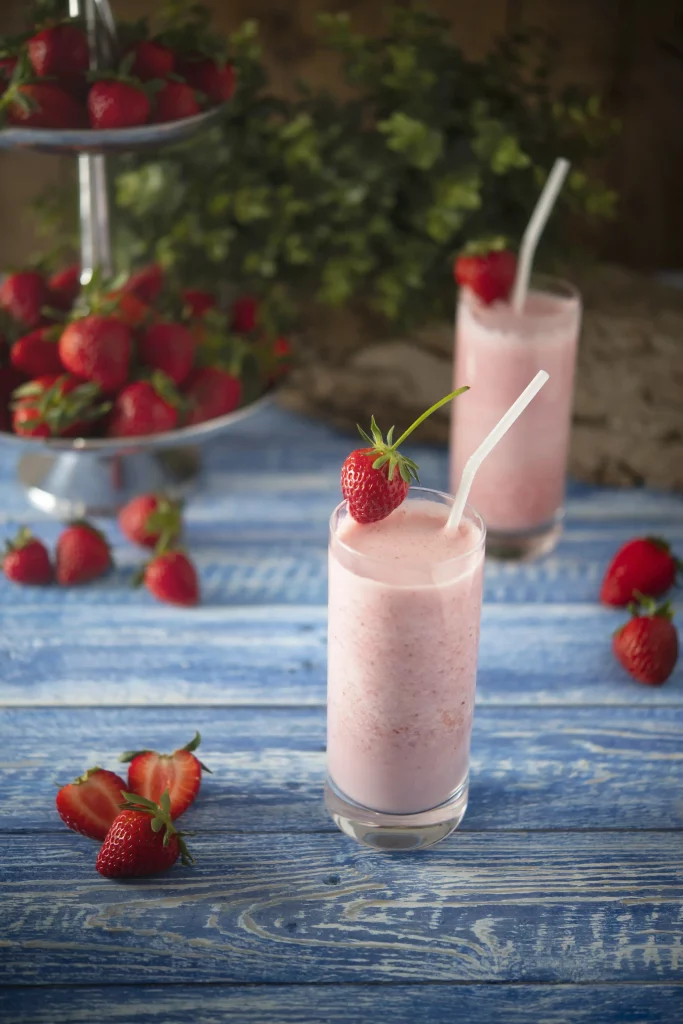
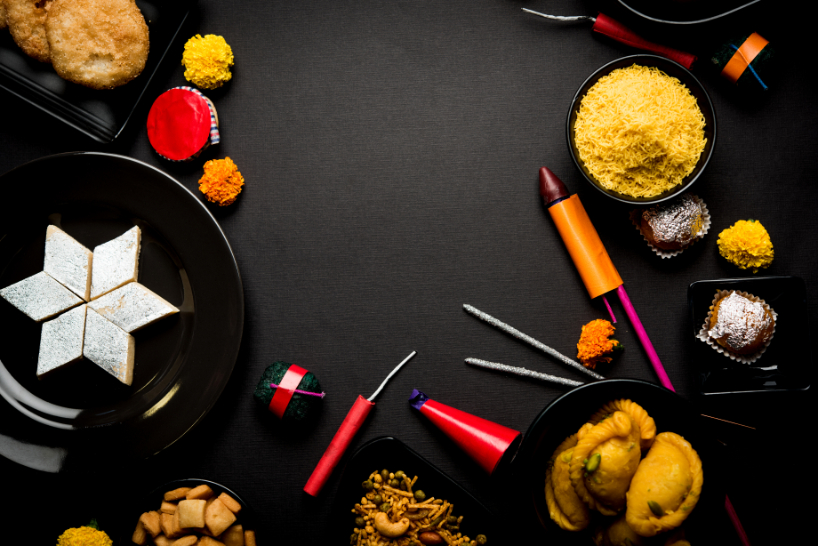
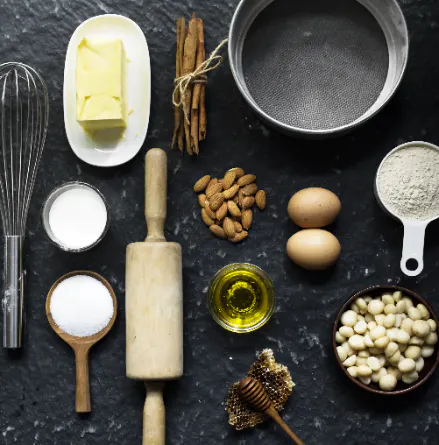
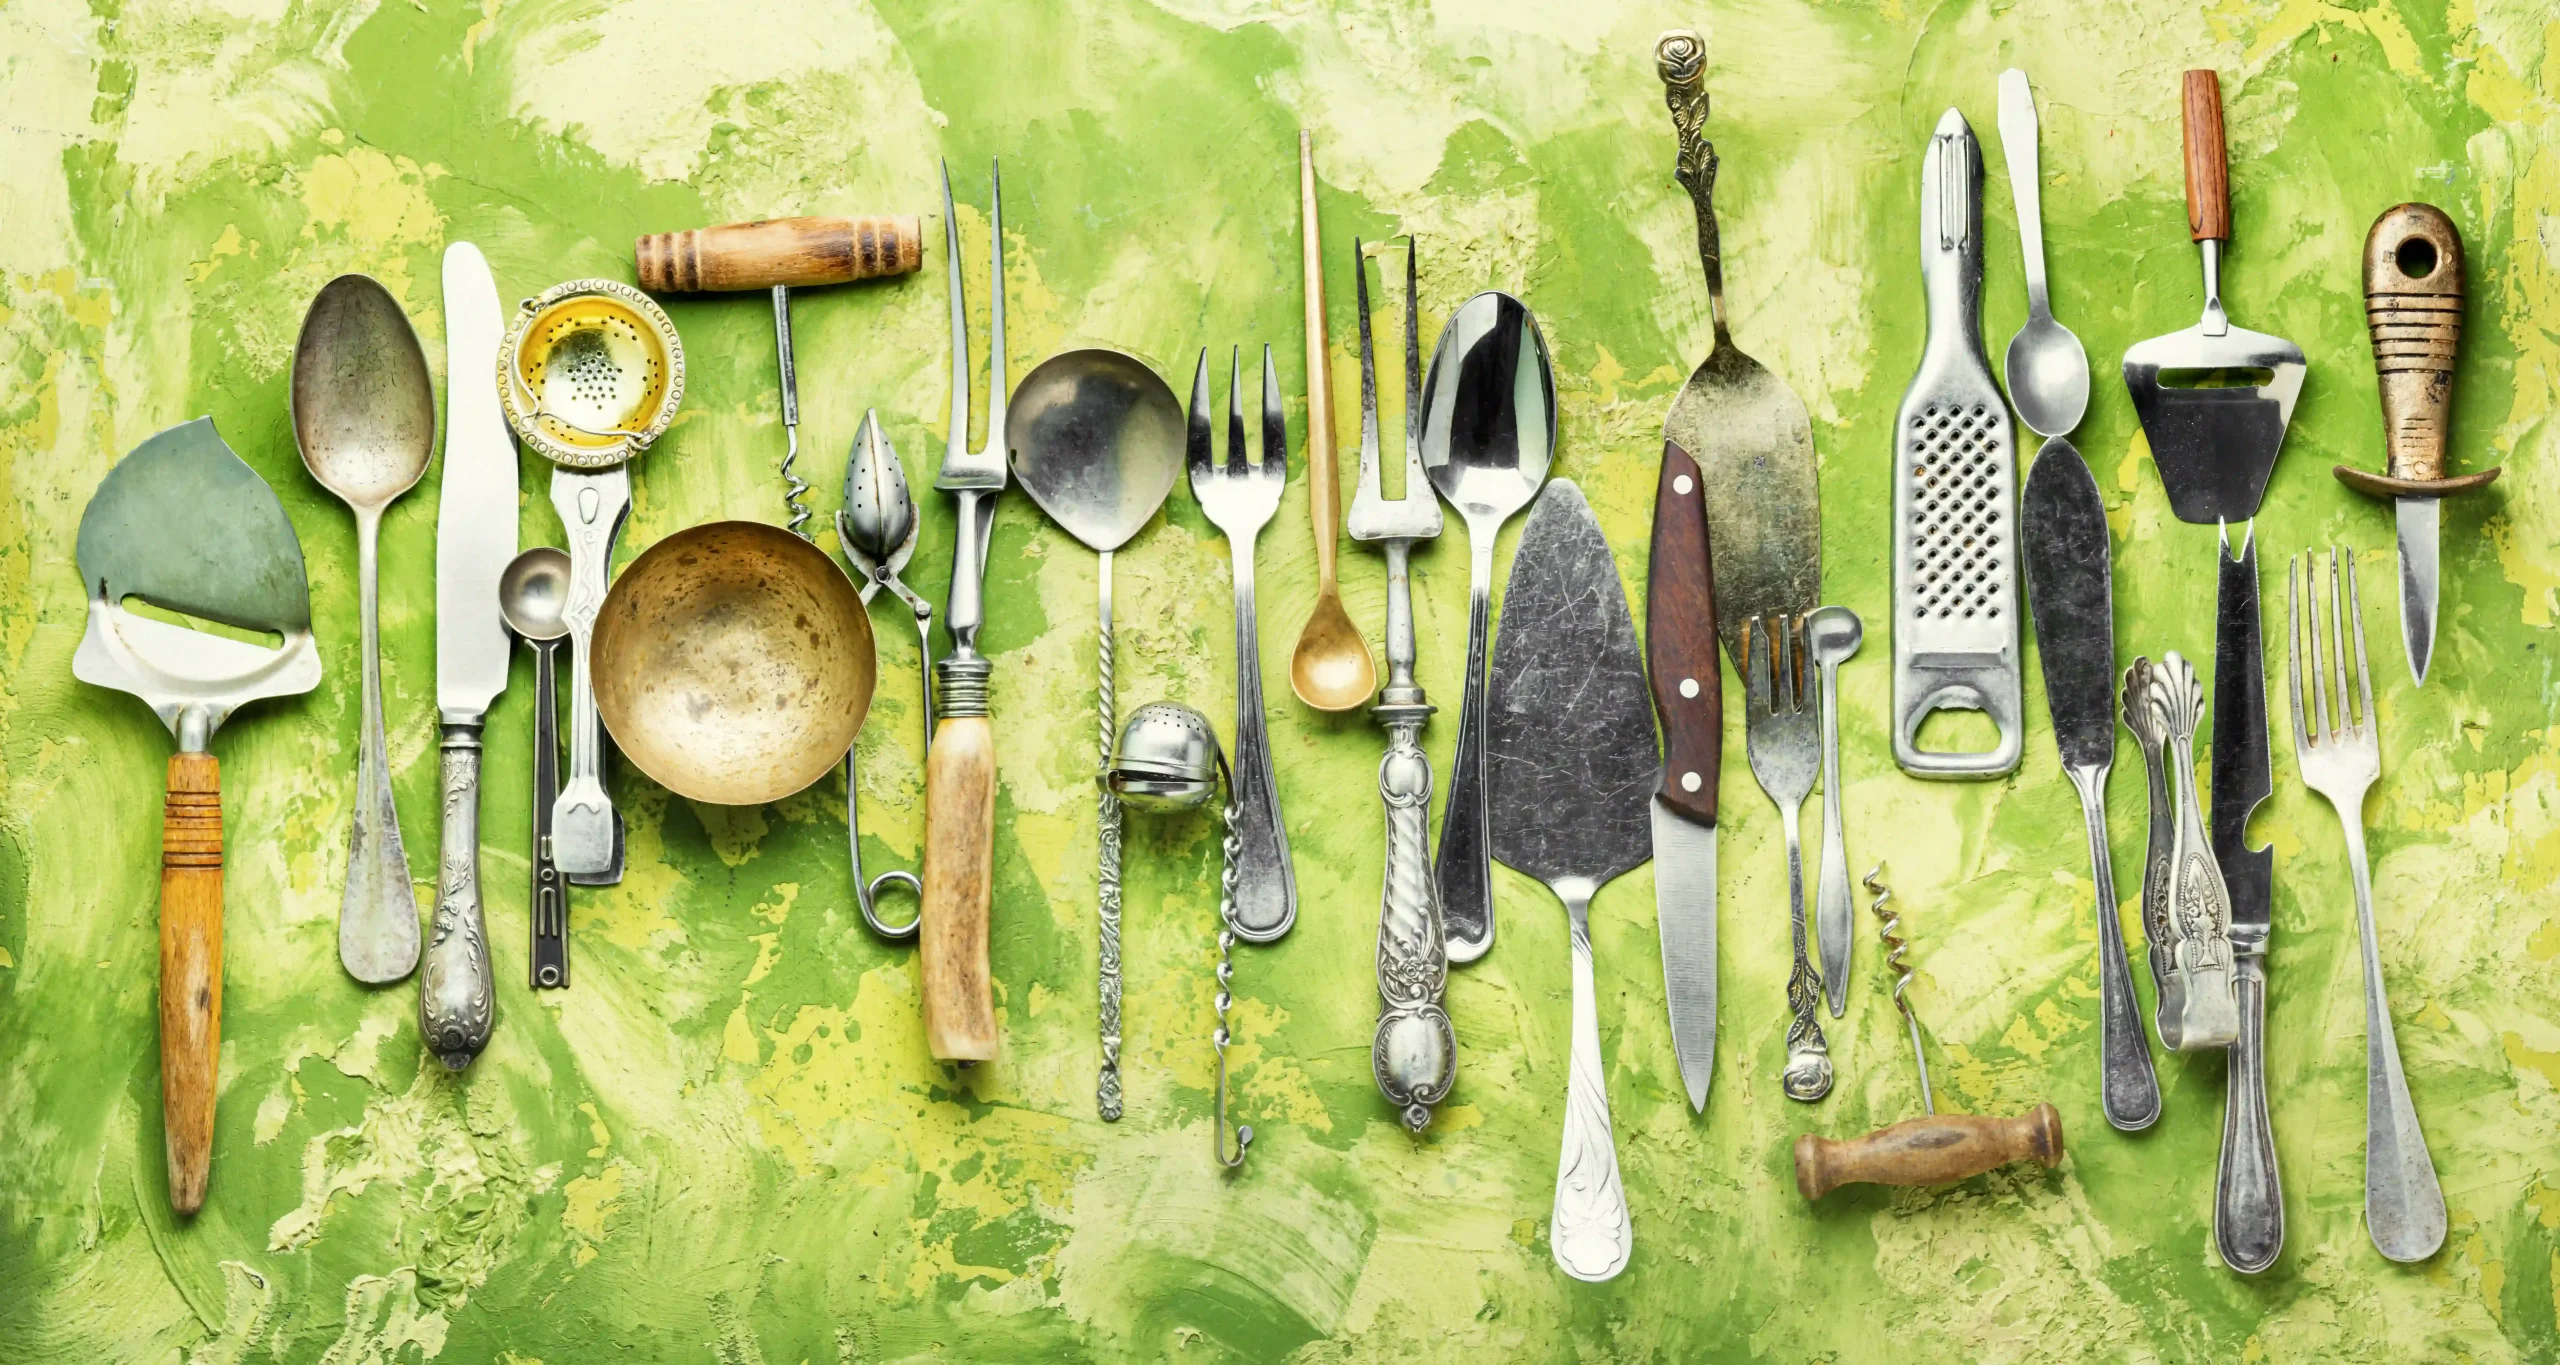
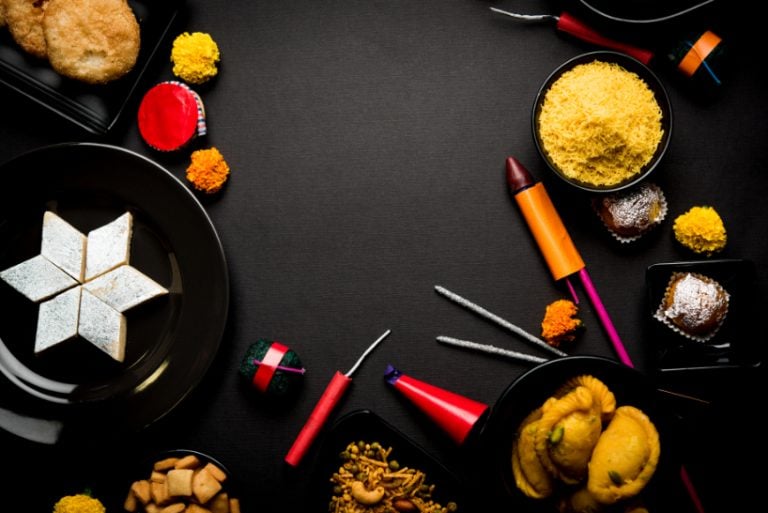
The surface on which you place the dish, the backdrop, and the background things are all part of the set. They enhance the picture and set the mood of the shot. Use surfaces that will bring out the color in the food. If the recipe is of a colorful and vibrant dish, set it against a warm, rustic wooden tabletop. You can also use props in the background that complement the meal. Possible accessories can be cooking utensils, raw ingredients, and even things you can pair with the food. If you want to use your indoor plants, decoration pieces, or other items, that will work too long as the picture is composed well.
